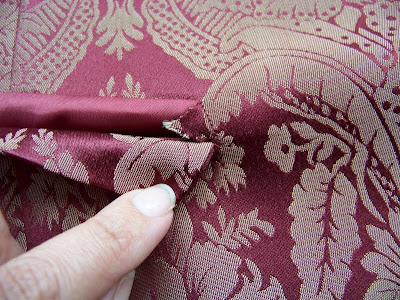
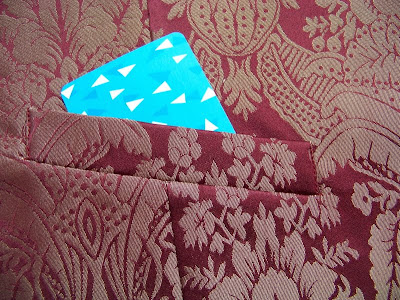
 Modifications I made were to cut the back out of the fashion fabric (the pattern calls for the back to be made from lining), I eliminated the back belt, and all four pockets are functional (top two are faux according to the pattern. I do my pockets like this). He was very pleased with how this turned out.
 I don't really like finishing vests this way, preferring instead to stitch the shoulders and armholes completely by machine, turning through the lining side seam. However, there is no back collar on this (! I didn't like that part), so I had to do the armholes according to the directions, which meant hand stitching the back shoulder lining over the seam.
  There is a nice split at the side seams.
 The front inside has a hem facing. There is also a small pleat where the lining meets the facing -- it's not really needed, IMO. I'd eliminate that next time.
 My boy is in high school now!
Full review for this pattern is here, at Pattern Review. I've entered it in the Sewing for Men contest.


